Articles about garden tools
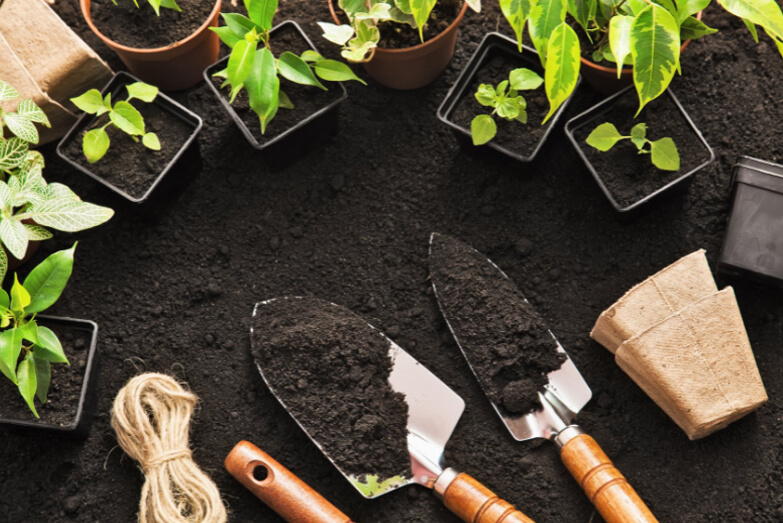
Care and Maintenance of Garden Tools
Dec
Take care of your garden tools and they will take care of you! Well, that’s easy to say but if you’re like me, the last thing I want to do after a day of gardening is to clean and oil my garden tools…my mind is clearly focused on getting the job done. take a shower and put your feet up with something. cold to drink.
Seriously, your garden tools will last a lot longer (especially wooden handles) if you show them some love from time to time, so take a moment to do so. Clean, sand, polish and oil your garden tools.
Clean – Gather all your tools, a bucket of warm water and a wire or stiff-bristled brush. Start with the brush and remove most of the dirt on your tools. Once the dirt has been removed, use warm water to scrub away the residue. Then rinse and air dry or wipe them with a towel.
Sand – After your garden tools have dried, this is the right time to sand any wooden handles. Moisture, whether from water in the soil, dew or rain will increase the grain of the wood, giving the wood a rough feel. Gardeners who live in areas with high humidity will also see/feel this “seed increase” more often. Just about any sandpaper is suitable for this job, but I recommend starting with 80 grit and finishing with 120-150 grit for a nice smooth finish.
Also, now is the right time to get rid of any rust on your tools. A wire brush is a good choice for removing most rust, especially in tight spaces, but you’ll find that 80-grit sandpaper will work better. If you have a small electric sander, the process will go a lot faster.
Sharpen – Now is a good time to review and sharpen any tool that needs it. You can sharpen your tools with a wide variety of tools, but most gardeners find that a flat file (available here or at your local hardware store) will take care of all the problems. their grinding needs.
Before you start, let’s talk about safety. Please wear eye protection. The smallest piece of metal in the eye can be very painful. Also, wear some heavy duty gloves to prevent those same pieces of metal from splashing out of your hands and avoid cuts from your freshly sharpened tools.
Gardening tools sharpening can be a dangerous activity if you don’t have the tool properly secured, so secure this tool in a case if you have one, clip it to a table, or just have someone sit on it. . Just make sure it’s secured before you start grinding. Each blade usually has some sort of chamfer on it, so try to file it at the same angle it already has. Too large an angle (sloping) will actually make your tool very sharp, but since the front edge is so thin it can be damaged by the smallest stones, so try to stay true to that angle.
Oil – Let’s start by saying, don’t use any base oils in your garden tools…you’ll just transfer that oil on your tools into the soil of your garden. It is a natural product from the seeds of the flax plant (except for the solvent used to keep it from hardening in the can…it evaporates after application) and can be used on metal parts. and the wood of your tool. Just apply it all over your applicator, let it sit for about 15 minutes and then wipe off the excess. Gardeners living in drier climates should oil their handles more often to prevent your handles from drying out and cracking.
Rust on any of your tools is the result of oxygen and water reacting with the metal, so the purpose of the oil is to create a barrier between the metal and the oxygen/water.
That’s it, protect your investment in garden tools and they will last a very long time.